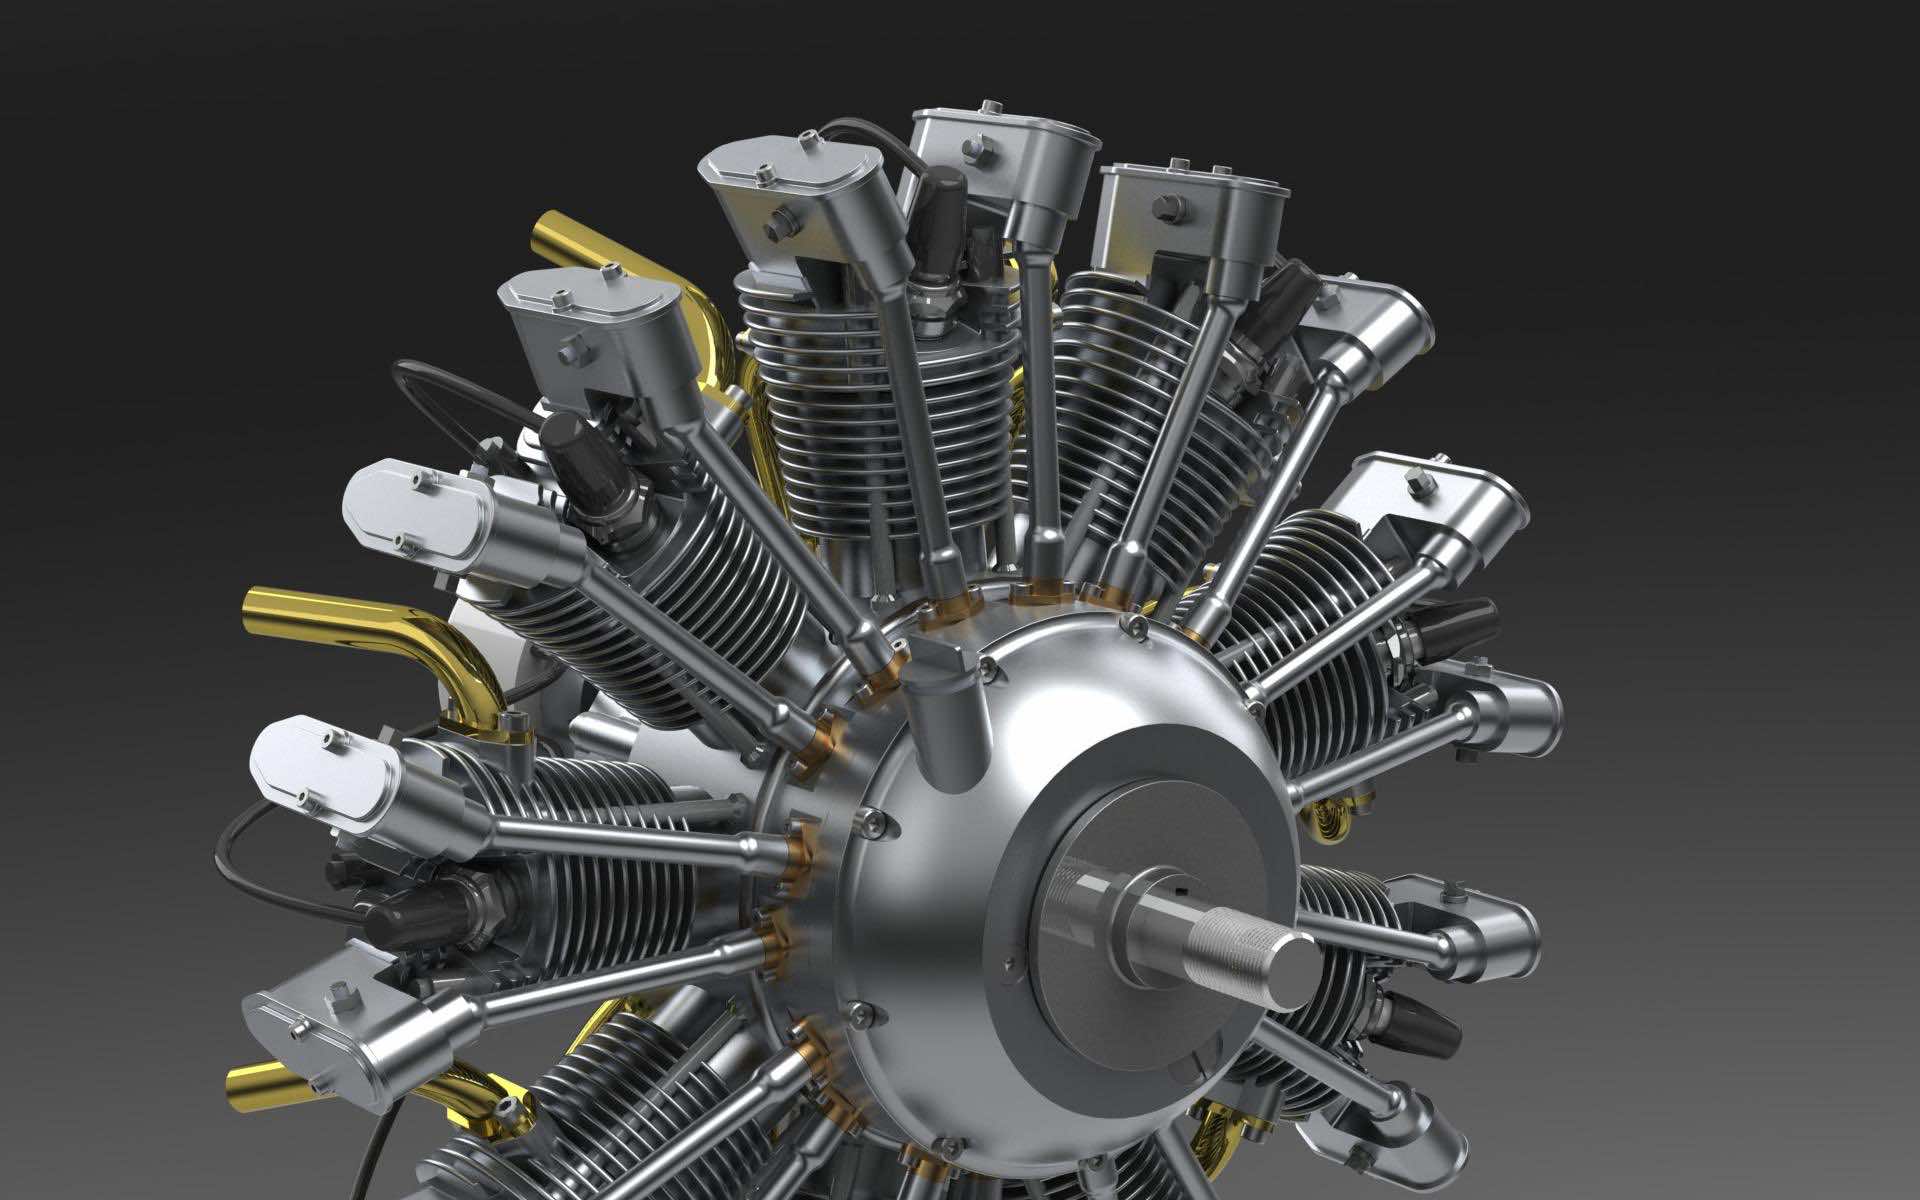
AutoCAD 3D for Beginners Course
Learn everything about AutoCAD 3D modelling, surfacing, mesh modelling, rendering and more from scratch.
-
[Course Introduction] AutoCAD 3D for Beginners
-
Introduction to the course
-
Lesson Files
-
-
1 - Introduction to 3D
-
1.1. Understanding and navigating in 3D workspace
-
1.2. Using view control and view cube
-
1.3. Using visual styles
-
1.4. Working with model space viewports
-
1.5. Practice exercise
-
-
2 - 3D solid modeling
-
2.1. Creating Solid primitives
-
2.2. Extrude command
-
2.3. Presspull command
-
2.4. Revolve command
-
2.5. Sweep command
-
2.6. Loft command
-
2.7. Practice exercise
-
-
3 - Solid Editing
-
3.1. Boolean Operations
-
3.2. Fillet and chamfer edge
-
3.3. Shell command
-
3.4. Slice command
-
3.5. Interfere command
-
3.6. Imprint, extract edges and Copy edges
-
3.7. Extrude, Taper and Move Face
-
3.8. Copy, Offset, Delete and color Face
-
3.9. 3D mirror command
-
3.10. 3D array command
-
3.11. Convert to Surface, Solid and Thicken command
-
3.12. Practice exercise
-
-
4 - Visualizing Solids
-
4.1. Understanding User co ordinate system UCS
-
4.2. Move, Rotate and Scale object using Gizmo
-
4.3. Align objects
-
4.4. Visualizing solid with sectional planes
-
4.5. Creating 2D 3D Blocks with generate section
-
4.6. Using Flatshot command
-
4.7. Creating 2D layout views from 3D drawing
-
4.8. Creating detail and sectional view
-
4.9. Annotating layout views
-
4.10. Practice exercise
-
-
5 - Mesh Modeling
-
5.1. Understanding mesh and its parts
-
5.2. Creating mesh primitives and mesh surfaces
-
5.3. Making a 3D Sofa with mesh modeling
-
5.4. Understanding Mesh editing tools
-
5.5. Practice exercise
-
-
6 - Surface Modeling
-
6.1. Making surface using extrude, revolve, sweep and loft
-
6.2. Planar and network command
-
6.3. Surface trim, untrim and extend command
-
6.4. Patch and Fillet tool
-
6.5. Sculpt command
-
6.6. Offset and surface blend tool
-
6.7. Working with NURBS surface
-
6.8. Project geometry and Autotrim command
-
6.9. Practice exercise
-
-
7 - Rendering and Presentation
-
7.1. Applying materials to 3D solids
-
7.2. Adding materials with opacity map and texture map
-
7.3. Customizing Material properties
-
7.4. Creating views with camera
-
7.5. Adding interior Lights and making quick Rendering
-
7.6. Adding Sun, Geolocation, date and time
-
7.7. Adding environment presets
-
7.8. Creating and saving renderings as image file
-
7.9. Making animated video for presentation
-
7.10. Practice exercise
-
-
Certificate of Completion
-
Certificate of Completion
-